Water Hardness by Area
How to Test Your Water Hardness at Home: Simple Methods
How to Test Your Water Hardness at Home: Simple Methods
Knowing how to test your water hardness at home takes minutes and tells you whether the limescale on your kettle and the film on your shower screen are down to hard water, and how hard it really is. You do not need a lab or an engineer. There are three practical routes, from a completely free test using washing-up liquid to a cheap dip strip that gives you an actual number, plus a way to look up your area’s official figure without testing anything at all. This guide walks through each, how to read the result, and what to do once you know.
If you just want the quick regional answer first, our UK water hardness map shows what to expect by area, but your own tap is the only way to be sure.
Method 1: check your water company’s data (free, no kit)
The easiest route is not a test at all. Every UK water supplier publishes the hardness of the water it delivers, usually searchable by postcode on their website, and it is the most authoritative figure for your area because it comes from the people who treat and monitor the supply. For example, Thames Water’s hard water page lets you look up your area; other suppliers do the same.
Suppliers report hardness in slightly different units, most often milligrams per litre (mg/l) or parts per million (ppm) of calcium carbonate, and many also give a plain-English classification from soft to very hard. This is the number to trust for whole-house decisions like sizing a softener. The one thing it does not capture is anything happening in your own pipes and tank, which is where a home test comes in.
Method 2: the soap shake test (free, tells you hard or soft)
The classic free test uses the fact that hard water stops soap lathering:
- Take a clean, clear bottle with a tight lid and fill it about a third with cold tap water.
- Add around ten drops of pure liquid soap (a plain washing-up liquid works).
- Shake it hard for a few seconds and look at the result.
Lots of fluffy, stable bubbles with clear water beneath means your water is soft. Few bubbles that collapse quickly, leaving a cloudy, milky liquid, means it is hard. It is a genuinely useful yes-or-no check, but that is its limit: it tells you whether your water is hard, not how hard, so it will not give you a number to work with.
Method 3: hardness test strips (cheap, gives you a band)
Test strips are the sweet spot for most people: inexpensive, fast, and precise enough to place you in a hardness band. To get a reliable reading:
- Run the cold tap for about 30 seconds to clear standing water from the pipe.
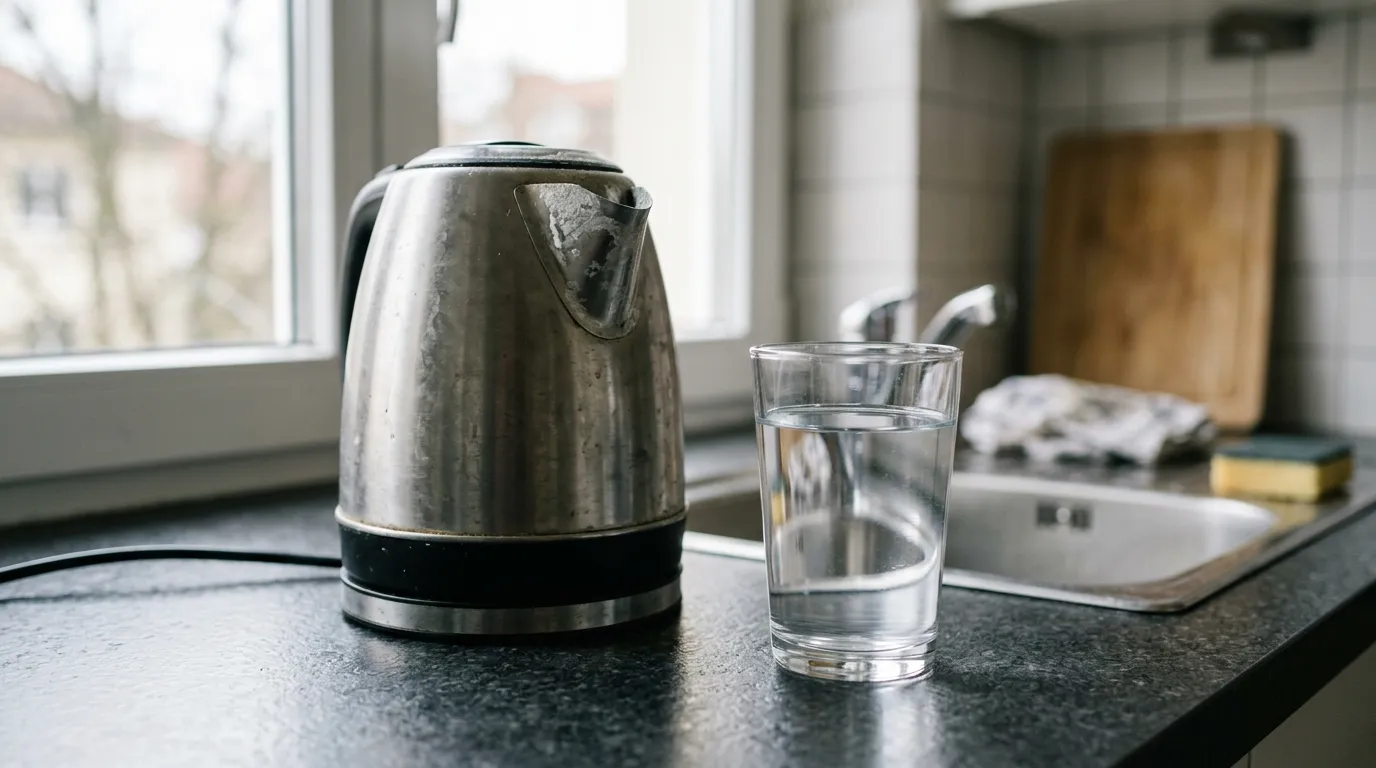
- Fill a clean glass with the fresh cold water.
- Dip a strip in for a second or two, then remove it.
- Wait the time your kit specifies (often around 15 seconds) and compare the colour to the chart on the pack.
Strips give you a hardness band, soft, moderate, hard or very hard, rather than a laboratory-exact figure, but that is all you need to make sensible decisions. If you want more precision, a liquid titration drop kit counts drops of reagent until the colour changes and gives a closer reading, at a bit more cost and effort.
How to read the result
Hardness scales vary, and different suppliers and kits draw the lines in slightly different places, so always use the classification printed on your kit or given by your water company. As a rough general guide, water is often considered soft at the low end of the scale, hard once it climbs past roughly 200 mg/l of calcium carbonate, and very hard beyond that. Much of the UK, particularly London, the South East, the Midlands, Yorkshire and the East, sits firmly in the hard or very hard range, which is why limescale is such a common complaint.
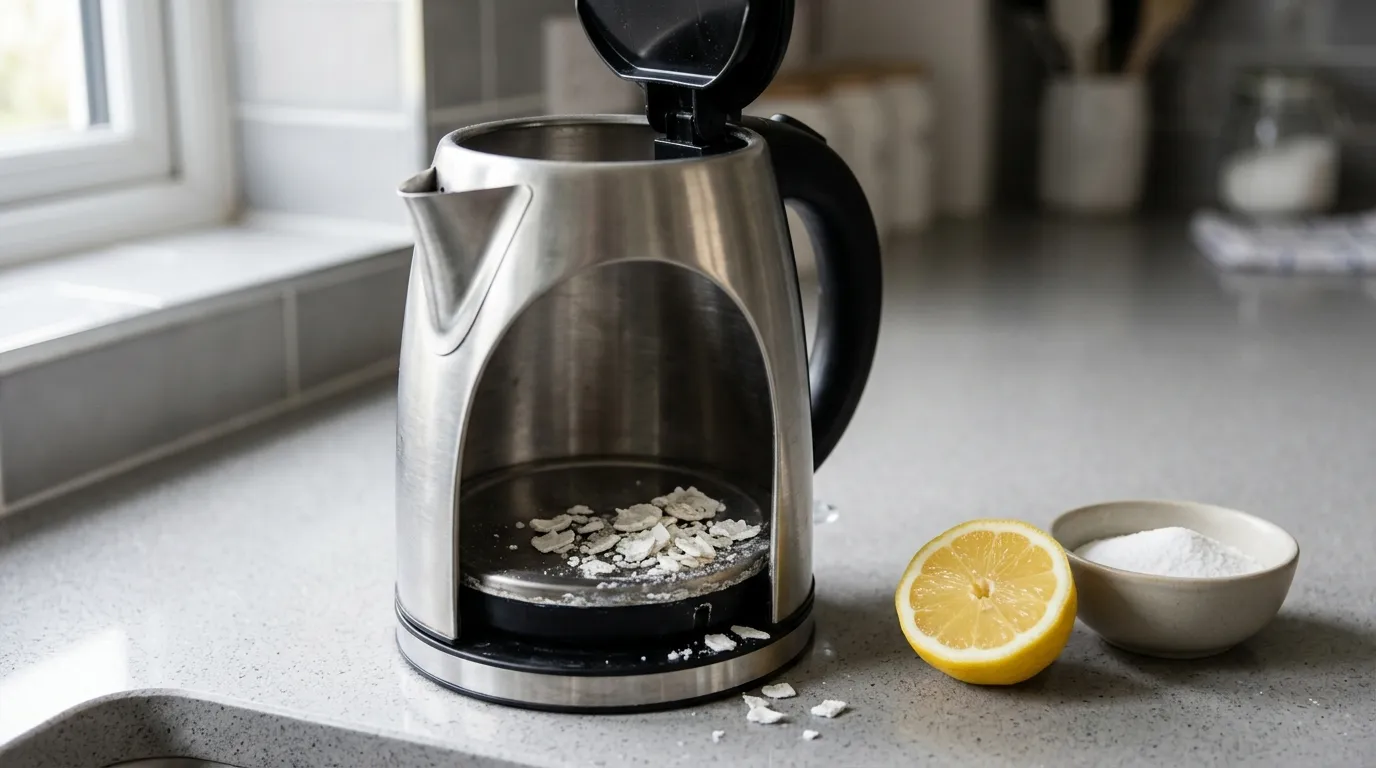
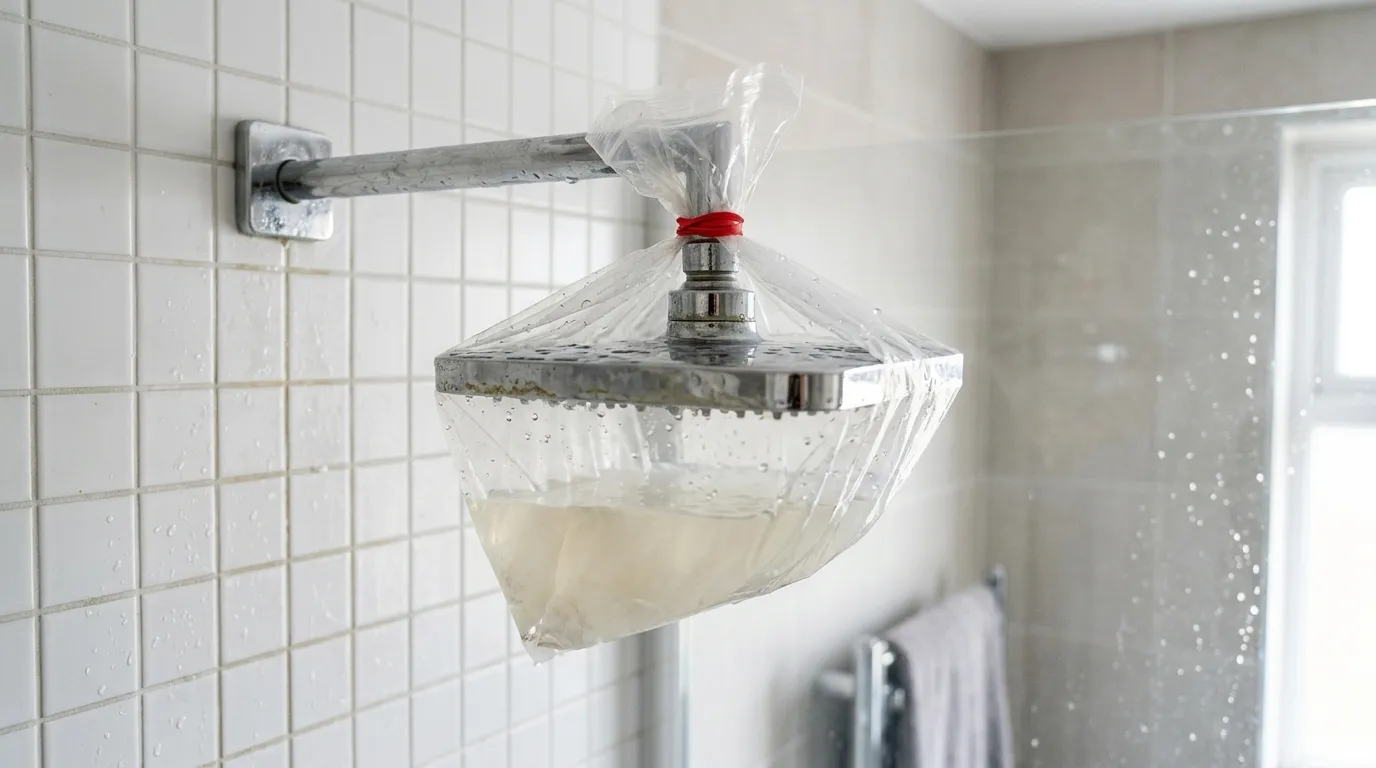
The visible signs back up the numbers: furring inside the kettle, white scale around taps and shower heads, soap scum on the bath, spots on glassware, and appliances that need descaling often. If you are seeing those, a test will almost always confirm hard water. For the full contrast, see hard water vs soft water.
What to do once you know
- Soft or slightly hard: you probably do not need to do much beyond the occasional descale.
- Hard to very hard: you have options depending on your goal. A water softener tackles limescale throughout the whole house by removing the minerals, while a filter mainly improves drinking water at one tap. Understanding the difference matters before you spend.
- Just fighting existing scale: a good limescale remover and regular descaling keep things under control while you decide.
Testing first means you buy the right solution for your actual water, rather than guessing. It costs almost nothing and takes ten minutes.
Frequently asked questions
What is the easiest way to test water hardness at home? Checking your water company’s website by postcode is the easiest and needs no kit, giving your area’s official hardness figure. For your own tap, a cheap hardness test strip dipped in fresh cold water gives you a hardness band in under a minute.
Does the soap and water test really work? Yes, as a simple hard-or-soft check. Hard water stops soap lathering, so few, quickly collapsing bubbles and a milky liquid indicate hard water, while lots of stable suds indicate soft. It will not tell you exactly how hard the water is, though, only that it is.
How accurate are water hardness test strips? Accurate enough to place you in the right band, soft, moderate, hard or very hard, which is all most people need. They are not laboratory-precise, so for an exact figure use a liquid titration drop kit or your water supplier’s published data.
What is considered hard water in the UK? Classifications vary by supplier, but water is commonly regarded as hard once it passes roughly 200 mg/l of calcium carbonate and very hard above that. Much of southern and eastern England falls into these ranges. Always use the scale given by your kit or water company.
Should I test at the tap or use my water company’s figure? Use both. The water company’s figure is the authoritative number for your area and is best for whole-house decisions. A home test at your own tap confirms it and picks up anything happening in your pipes, tank or a specific outlet.
Do I need to run the tap before testing? Yes, for a strip test run the cold tap for about 30 seconds first to flush out standing water that has been sitting in the pipe, then fill a clean glass from the fresh flow. This gives a reading that reflects your actual supply.